Step-By-Step Guide For Creating A Sales Presentation - That Drives Results and Boosts Revenue.
When I first stood in front of a boardroom full of executives, I realized that a sales presentation is more than a collection of slides; it is a storytelling vehicle that can close deals or leave opportunities on the table. In this article, I will teach you everything you need to know, from the basics to professional things that turn a good deck into a great one.
What Is a Sales Presentation?
A sales presentation is a structured communication tool designed to persuade potential customers to buy a product, service, or solution. Unlike casual conversations, a sales presentation is carefully crafted to:
In essence, it is your opportunity to make your client understand why they need your product and why you are the right choice to deliver it.
Types of Sales Presentation
Sales presentations come in various formats, depending on the context and audience. Some of the most common types include:
In-Person Presentations
Traditional face-to-face meetings often use slides or demos. Ideal for complex products requiring personal interaction.
Virtual Presentations
Conducted via video conferencing tools. They require concise content, clear visuals, and interactive elements to keep engagement high.
Product Demonstrations
Focused on showing how a product works in real-time. Highly effective for tech solutions, software, or innovative gadgets.
Elevator Pitches
Quick, persuasive presentations (usually under 5 minutes) aimed at sparking interest and setting up a more detailed meeting.
Consultative Presentations
Customer-centric approach, where the presentation is tailored based on research and insights about the prospect’s business challenges.
How to Create a Sales Presentation from Scratch (Step-by-Step Guide)
Creating a sales presentation can seem daunting, but breaking it down into steps makes the process manageable and effective. Here’s a step-by-step guide:
Step 1: Know Your Audience
Before you begin, research your audience thoroughly:
Tailoring your presentation to your audience’s needs increases your chances of success.
Step 2: Define Your Objective
Having a clear objective keeps your presentation focused and impactful.
Step 3: Structure Your Presentation
To create a Well-Structured presentation, follow this flow:
1. Introduction: Grab attention with a story, statistic, or bold statement.
2. Problem Statement: Highlight the client’s pain points.
3. Solution: Introduce your product/service as the solution.
4. Benefits and Features: Focus on how your solution solves their problems.
5. Social Proof: Include testimonials, case studies, or success stories.
6. Call to action: Clearly outline the next steps or offer.
Step 4: Design Visuals
Visuals are critical for engagement:
Step 5: Practice Delivery
Rehearse your presentation multiple times:
Step 6: Gather Feedback
Before presenting to the client, get feedback from colleagues or mentors to refine your content and delivery.
Practical Guidance for Creating Sales Presentations Using PowerPoint
Step 1: Open PowerPoint
Log in or Sign up to PowerPoint
Step 2: Create New Presentation
Click on “Create blank presentation” in the top left corner to create from scratch (or)
Choose any template from PowerPoint and customize it.

Step 3: Create a Cover Slide

Step 4: Structure Your Content
Organize your slides:
Use bullet points for better understanding.

Step 5: Add Visuals

Step 6: Customize Your Deck

Step 7: Add Transitions and Animation ( If needed)

Step 8: Review and Refine

Make Your Presentation Creation Effortless with AI-Powered Tools
I will be honest, the first time I had to create a sales deck for a big client, I spent hours agonizing over slide order, visuals, and wording. Then I discovered MagicSlides.App is an AI presentation maker, and it changed everything.
When I first tried MagicSlides, I could not believe how quickly it turned my ideas into a professional presentation. In just a few clicks, I had slides with clear structure, visuals, and content flow. All ready for my client meeting. It saved me hours and let me focus on telling my story, not designing slides.
Here’s how I used it to create a winning deck:
Step 1: Log in or Sign up to MagicSlides
Step 2: Enter your content. MagicSlides accepts different formats like text, docs, links, and PDFs.
If your content is in PDF format, use the PDF to PPT converter
If your content is in text format, use text to PPT converter
If your content is in Word format, use the Word to PPT converter
If your content is in link format, use the link to the PPT converter

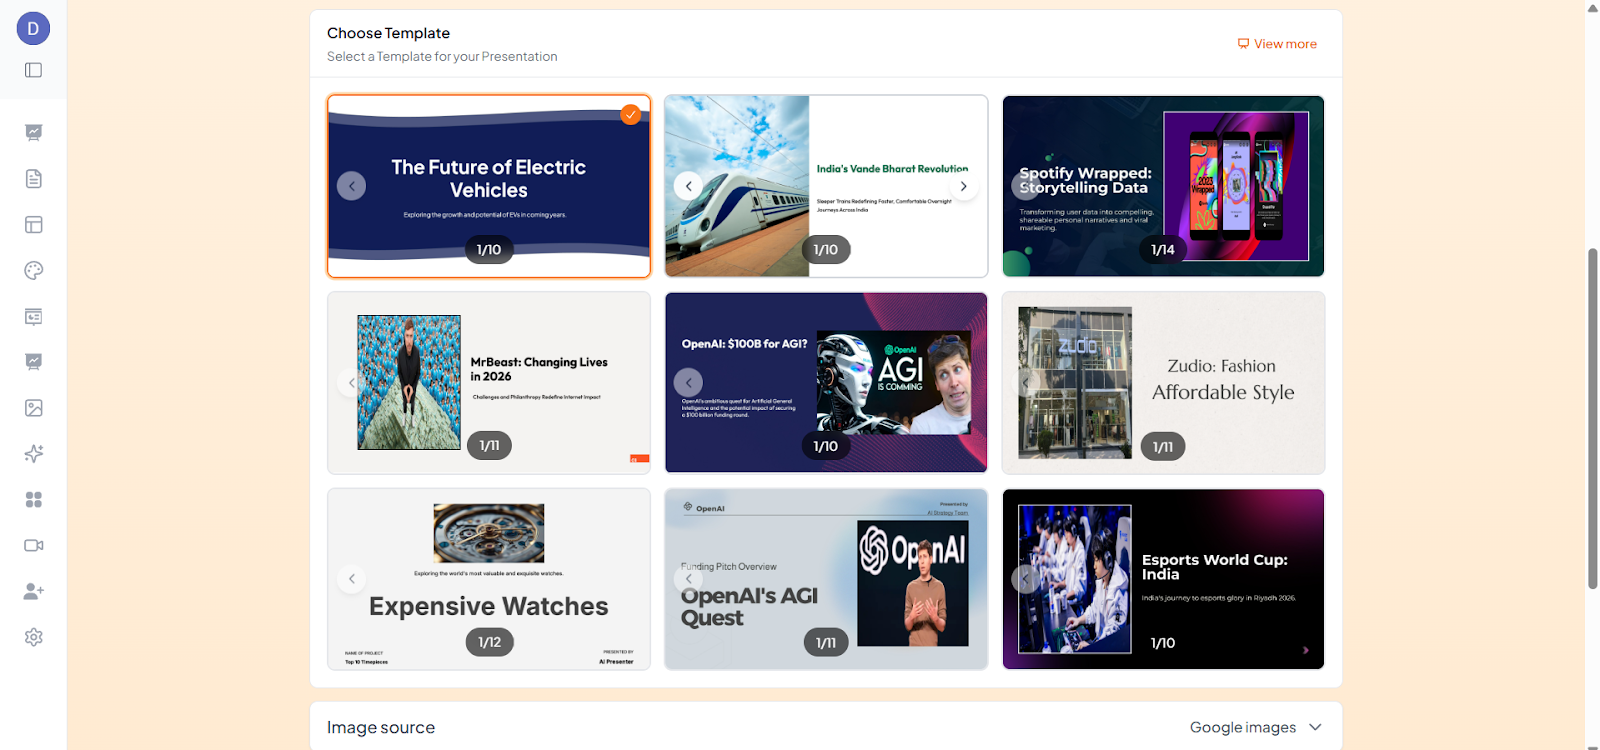
Step 3: Select the template that matches your sales presentation.
Step 4: Let AI analyze and generate the content
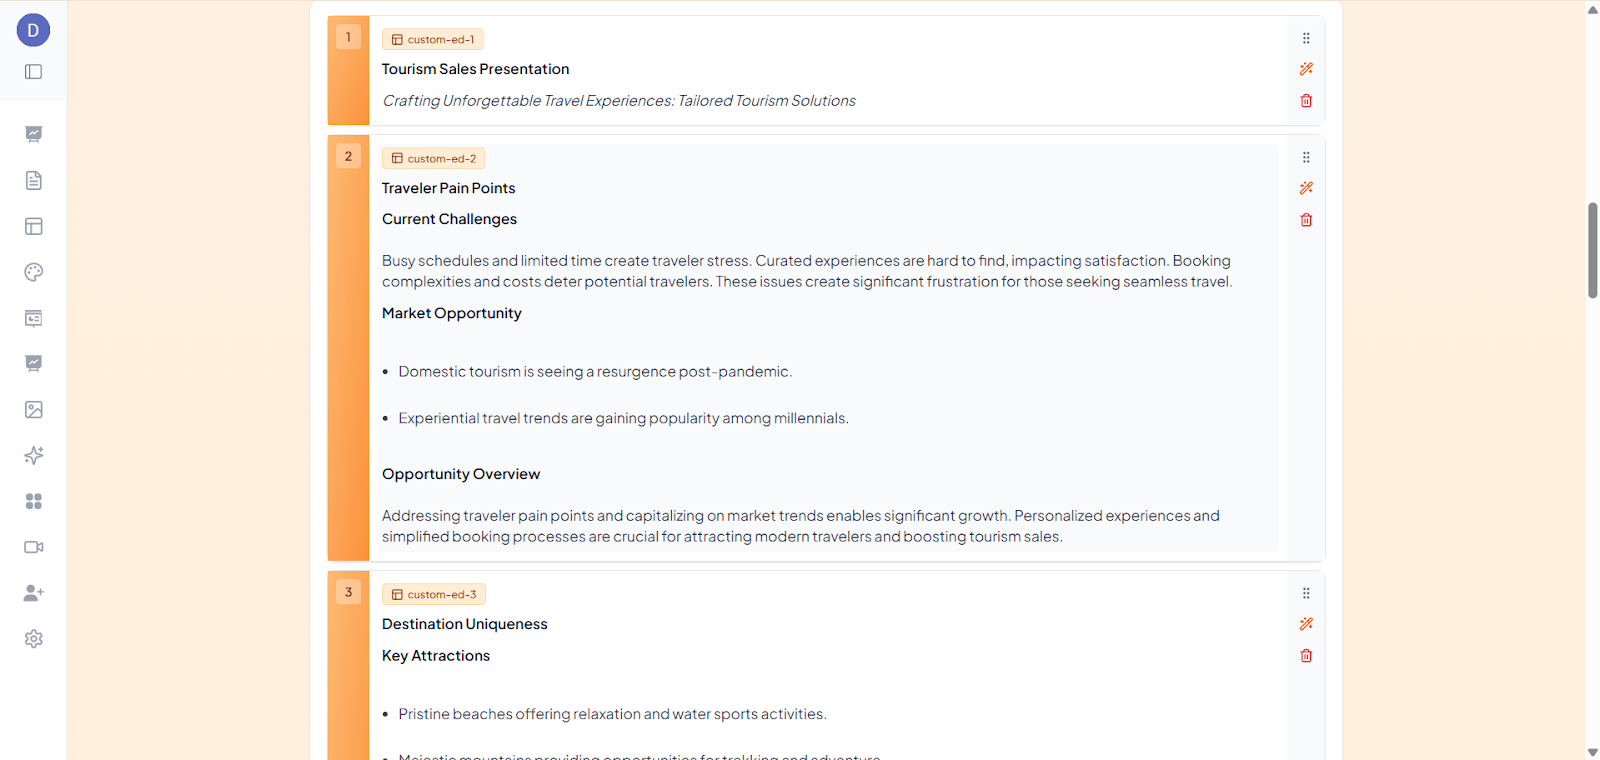
Step 5: Refine it if needed
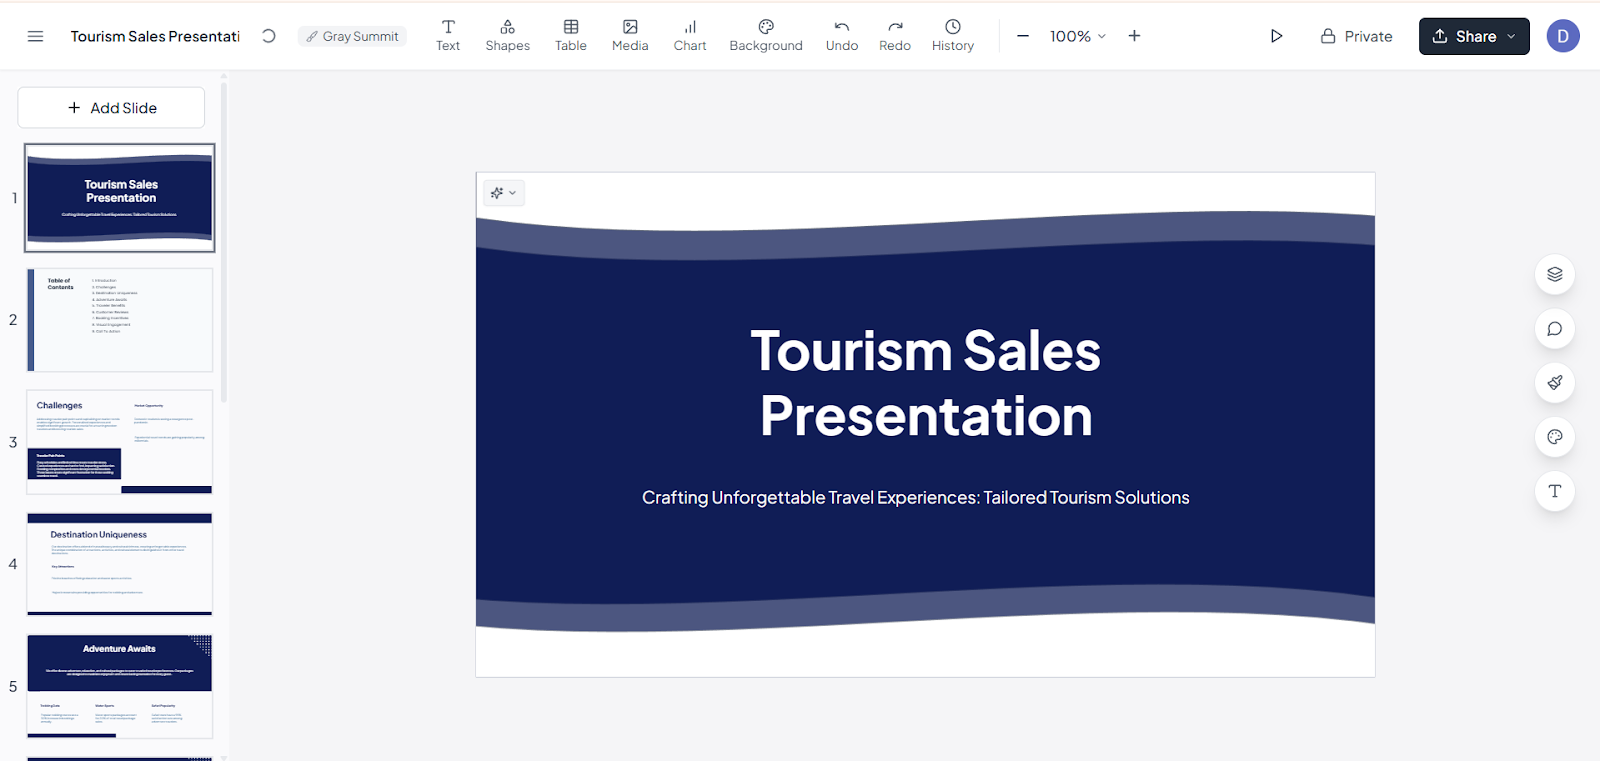
Step 6: Download and use.

After trying this, I realized how much easier and faster creating a compelling presentation could be when you have the right tools on your side.
Final Thoughts
Creating a powerful sales presentation involves understanding your audience, structuring your content, and designing visuals; every step matters in making your story compelling. Tools like PowerPoint give you control, while AI-powered solutions like MagicSlides can save time and help craft a professional deck quickly.
A great presentation is not just about slides; it is about telling a story that connects with your audience, addresses their needs, and inspires action. Practice, refine, and stay confident, and your presentations will leave a lasting impact.
Also Read: How to create a pitch deck that builds trust and drives decisions.
Quick FAQ’s
Q 1: How long should a sales presentation be?
Ideally, keep it between 15 and 20 minutes for formal presentations. Elevatory pitches should be under 5 minutes. Focus on clarity and engagement over length.
Q 2: Should I use visuals in every slide?
Yes, visuals help convey information quickly. Use charts, images, and icons sparingly to support your key points without cluttering the slide.
Q 3: Can I use MagicSlides for any type of presentation?
Yes, MagicSlides works for sales decks, client pitches, educational presentations, and more. It is flexible for different audiences and topics.
Q 4: How do I handle questions during the presentation?
Anticipate common questions and prepare concise answers. You can also encourage audience interaction at the end to keep the flow smooth.
Q 5: What’s the biggest mistake to avoid in a sales presentation?
Overloading slides with text or data. Focus on storytelling, visuals, and engaging your audience; don’t just read off the slides.
Q 6: How do I make a virtual presentation engaging?
Use interactive elements like polls, Q&A, and visually appealing slides. Maintain eye contact with the camera and keep your tone lively.
Q 7: Should I include pricing in the presentation?
Only if appropriate. For early-stage pitches, focus on value and benefits. Pricing can be discussed in follow-up conversations.